Flooring and Kitchen Cabinets

Originally posted Friday, October 28, 2011
Over the past week Chris has been putting in a ton of work and overtime at his job (just a trooper) While he’s spending time working harder than anyone I know, I’ve been busy putting the framing of the countertop together.
First thing I did was place the countertops down on the floor, then I traced around the counter, creating a template for myself. We will have One and a Half inches for overhang and room for cabinet doors
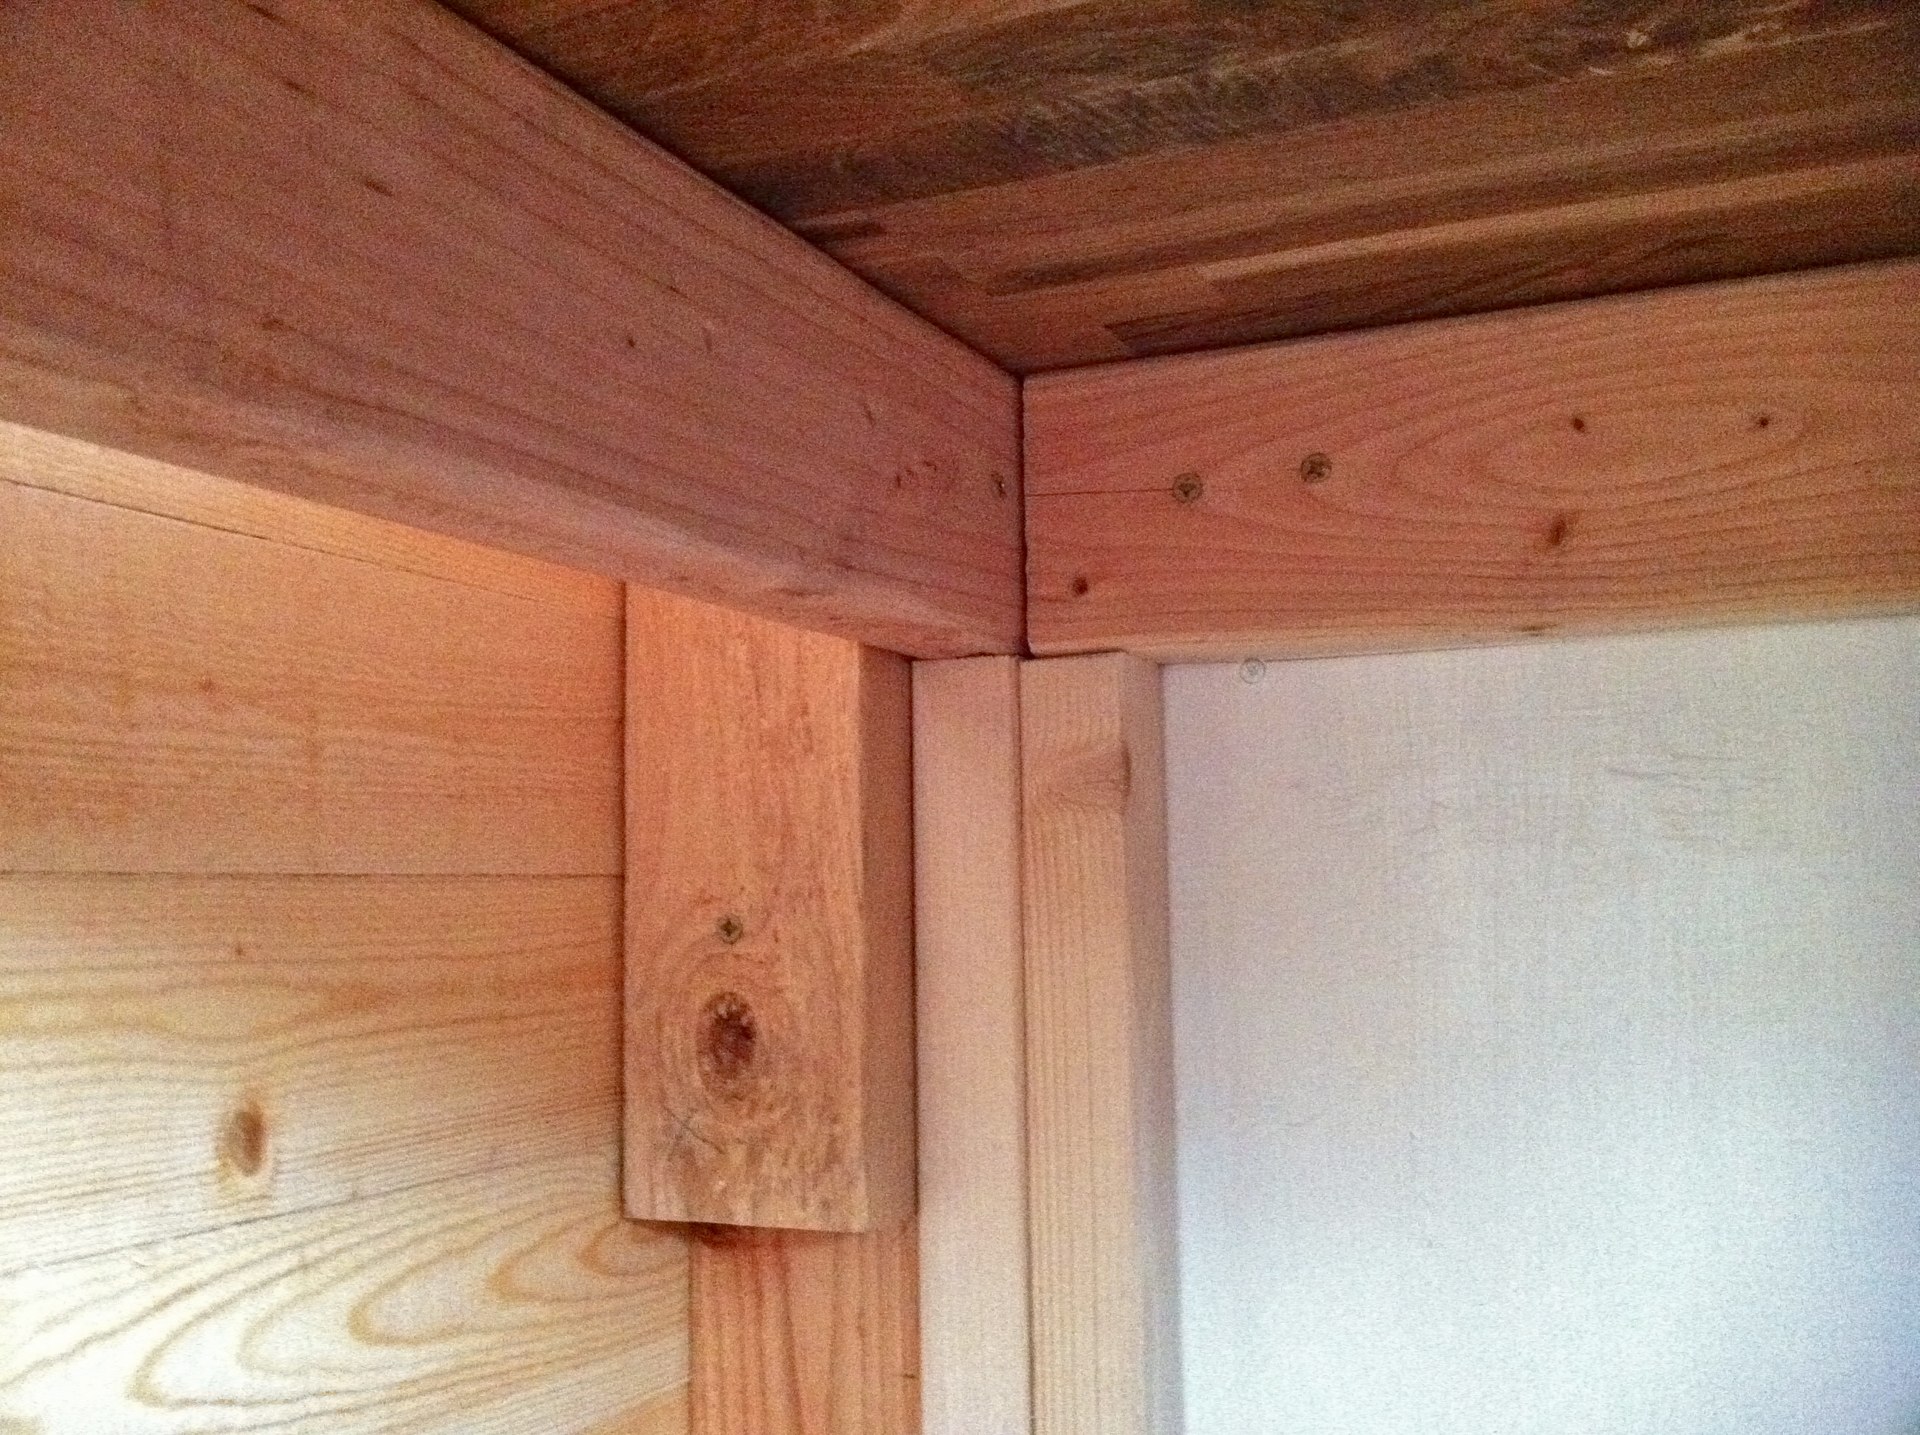
Next thing I did was secure 2x4 lumber to the studs in the wall. This would be the main support for the countertop, which is very hefty.
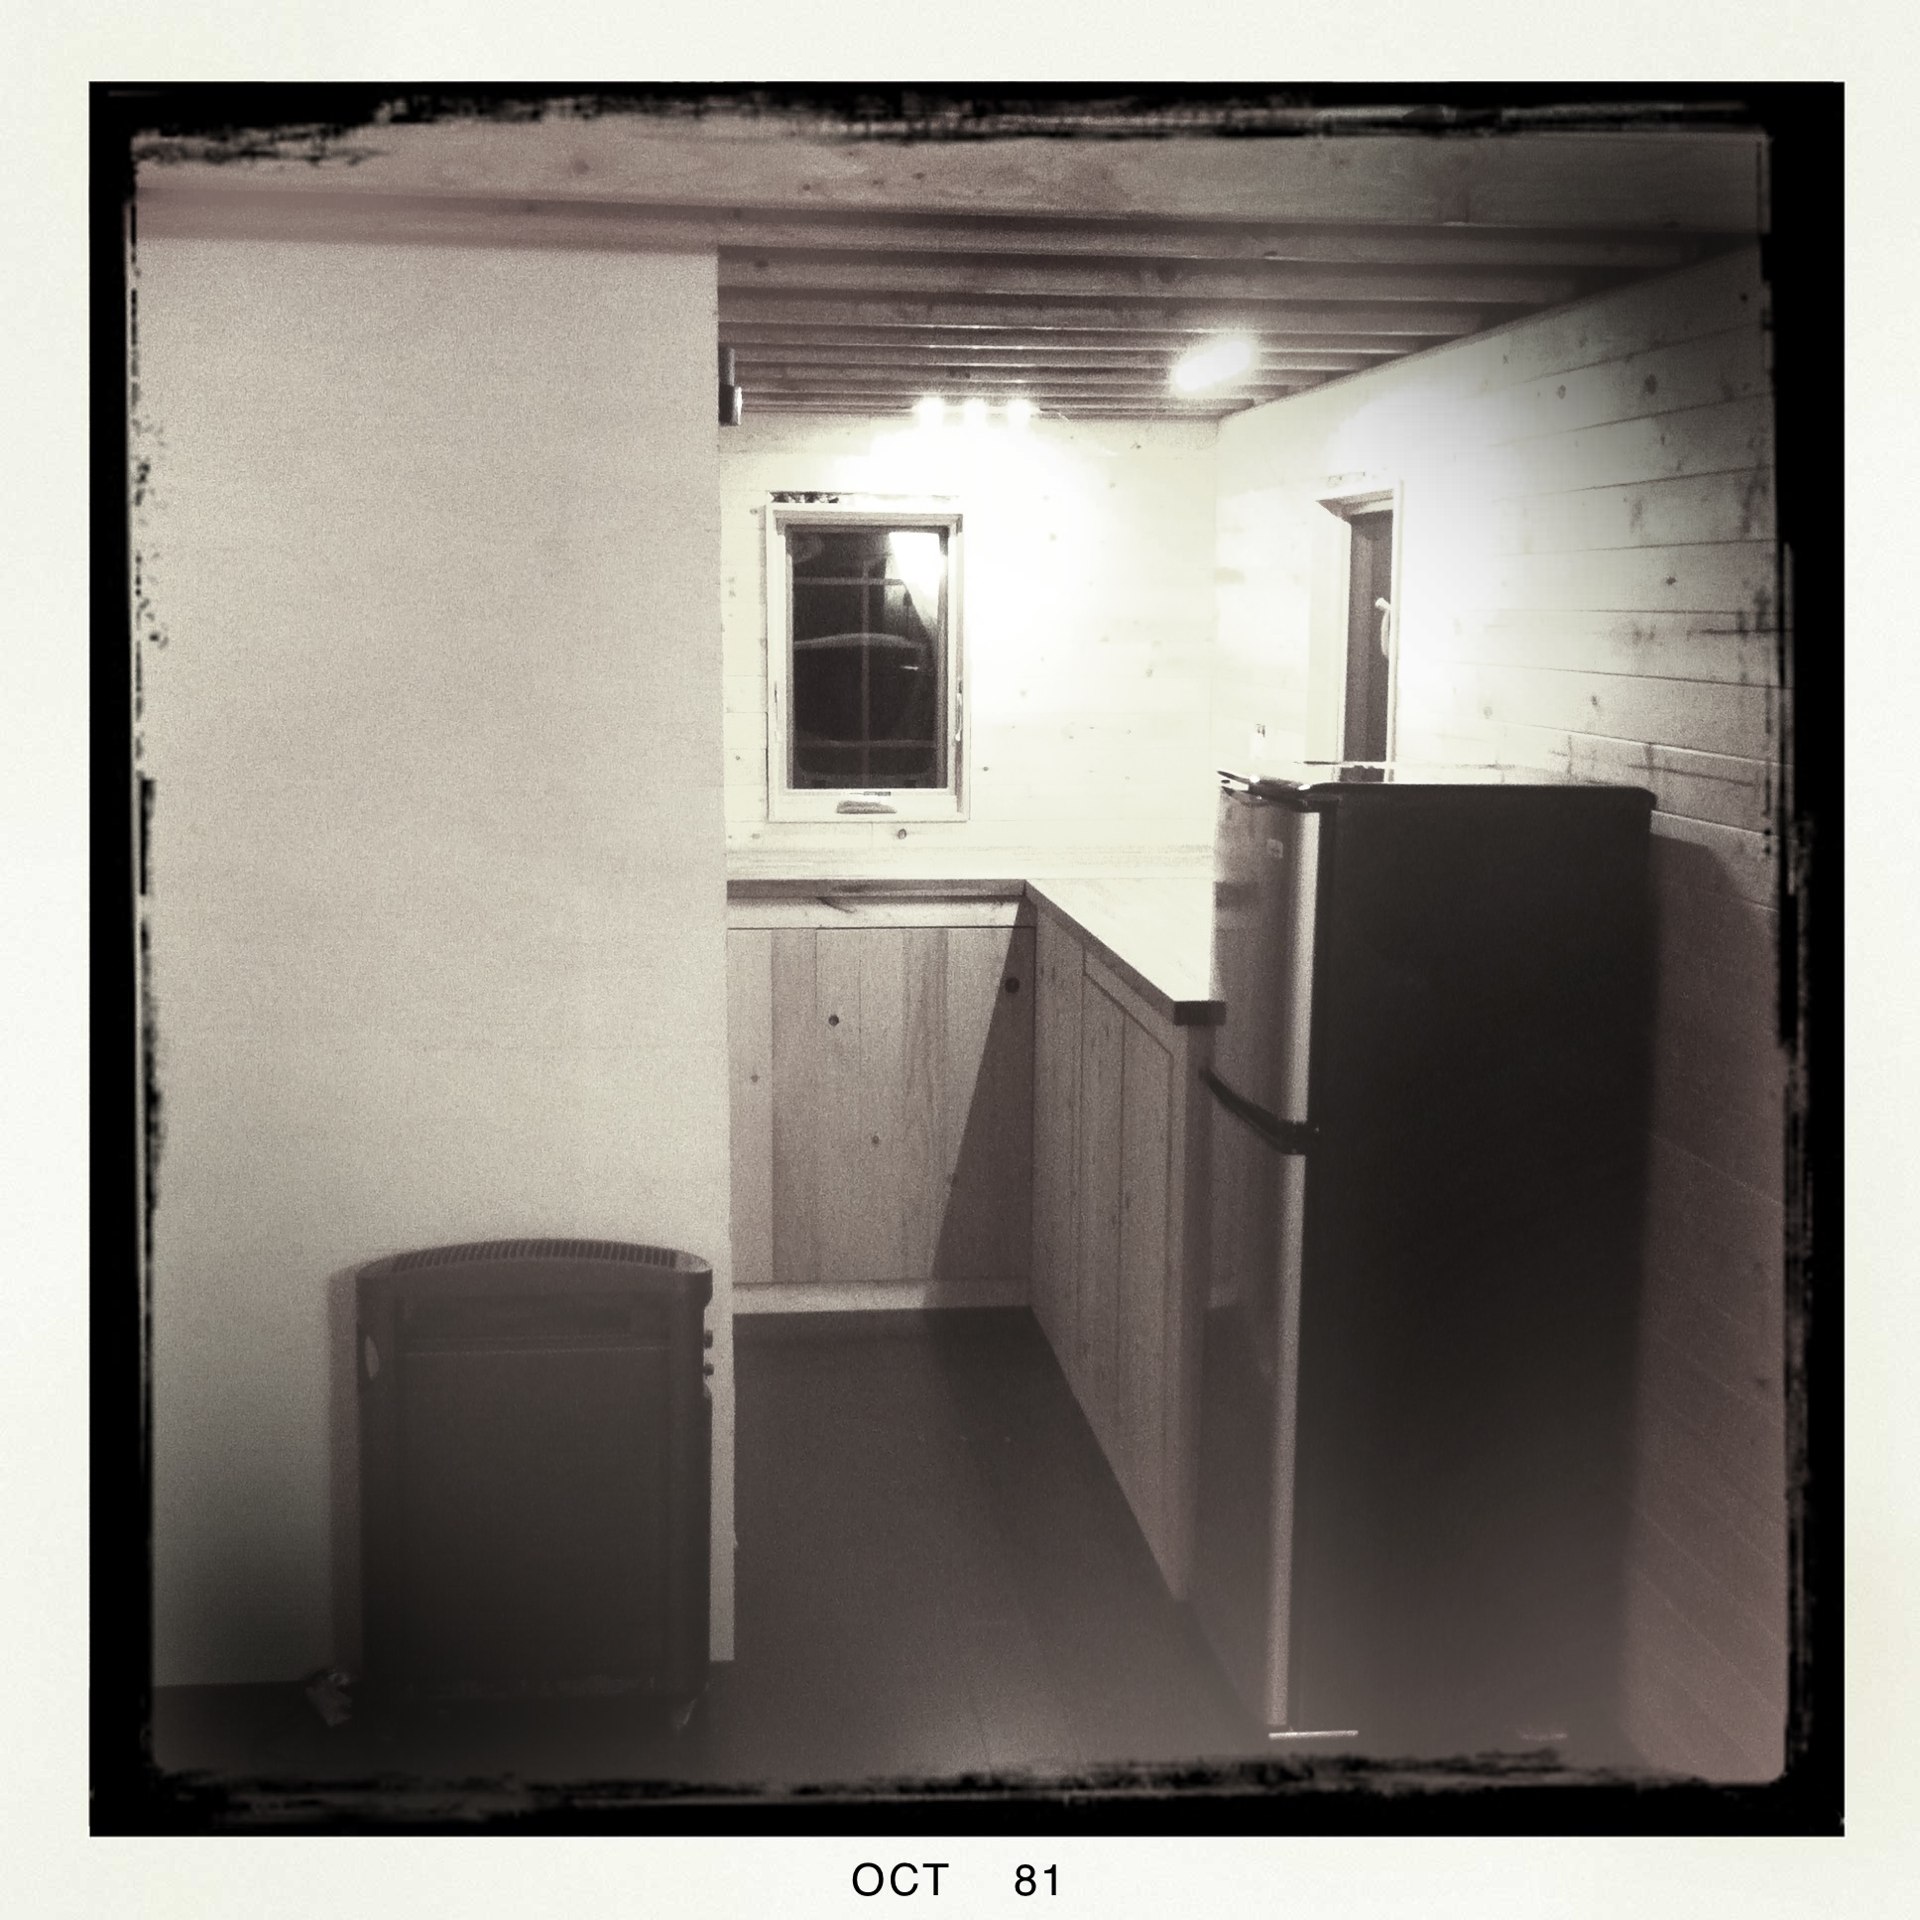
Started working on the framing for the cabinets. I’m leaving plenty of room underneath so we can slide the water tank out if we need to.


Now that the framing of the cabinets has been put in place it is time to put down the bamboo flooring. We picked up a space heater last week also, that way we can adjust the temp inside the house for putting down the flooring. The first thing we put down was the cork underlayment and some 1/4 spacers along the walls.
Thanks again to Noelani Catrett, over at iFloor for the great flooring.
Tools for the Job:
* Pair of Scissors
Tapping Block
Tape Measure
1/4 Spacers
Pull Bar
Utility Knife
Weighted Hammer
Also needed:
*Miter Saw
Table Saw
Jig Saw
Safety Goggles


With the floors done in the main room and kitchen, Chris and I were able to start working on the Kitchen Cabinets. We decided... or I should say, I decided and convinced Chris that we were going to build our own cabinets. I wanted something that was more personal to us, you can get cabinets for anyone, but it’s not designed for you unless you build them yourself. And since we are building a house, I figured cabinet building shouldn’t be that hard, hehe. Chris and I had a blast working on this project, and are excited with the results.